Cutting Large Cornice

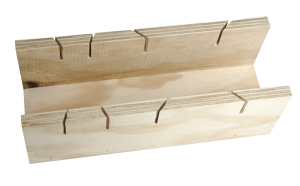
Adjustable 300mm Mitre Box Mba 300 Plasteringsupplies

How To Installing Cornice Video Series
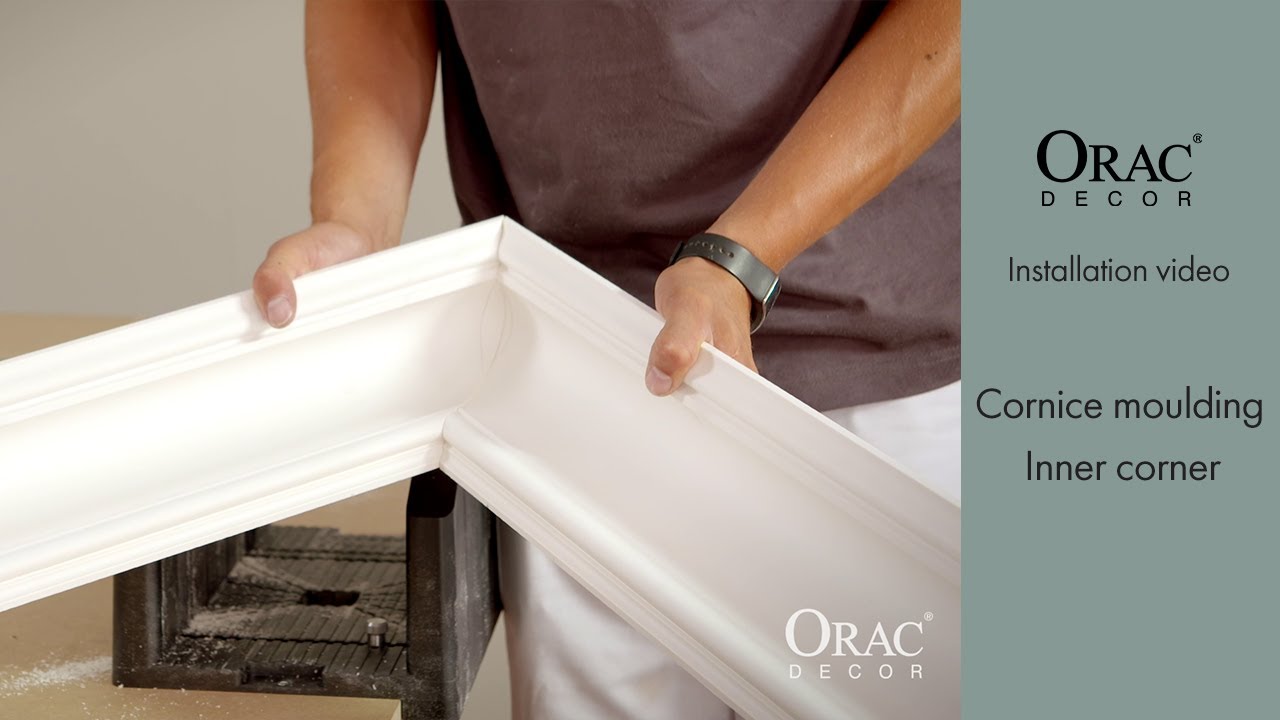
How To Install The Inner Corner Of Cornice Mouldings Orac Decor Installation Video Youtube
Fixing Instructions Decorative Ceiling And Plaster Cornice Allplasta

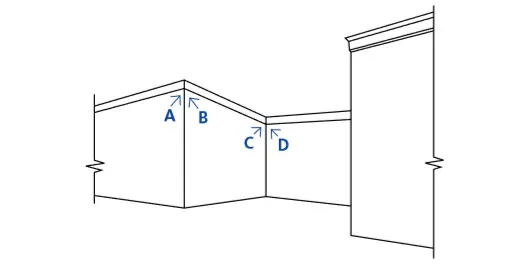
Cornice And Coving Guide To Making Corners
Coving Cornice Mouldings Cutting An Inner Corner Youtube

Ideally use a single length of cornice for each wall however sections can be joined with butt joints.
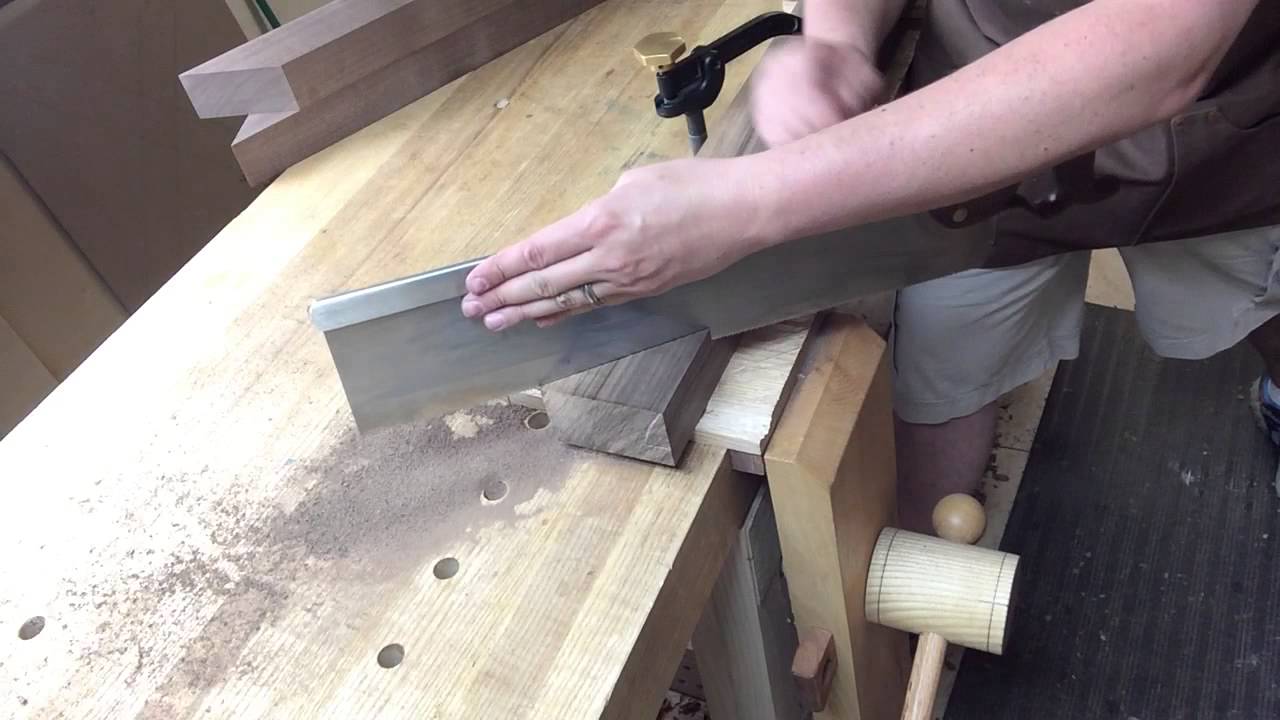
Cutting large cornice.

Videos

Try Your Hand At Installing Cornice 5 Steps With Pictures Instructables

How To Cut Coving Gypro Cove Internal External Corner Cutting Video Youtube
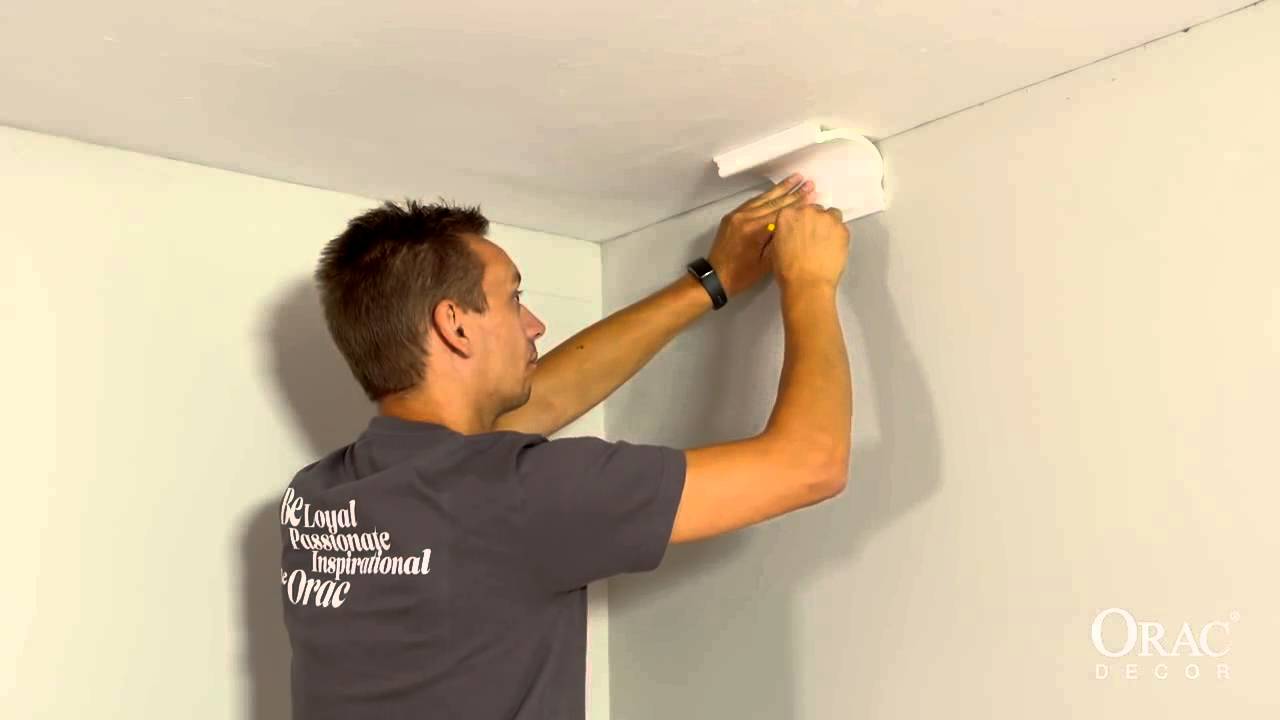
How To Fix And Position A Cornice

Installing Large Hopkin S Large Victorian Cornice Around Cupboards Youtube

Trim Molding How To Cut Cornice Molding Youtube

Creative Step Down Ceiling Feature In 12 Steps Molding Ceiling Cornice Cornice Design

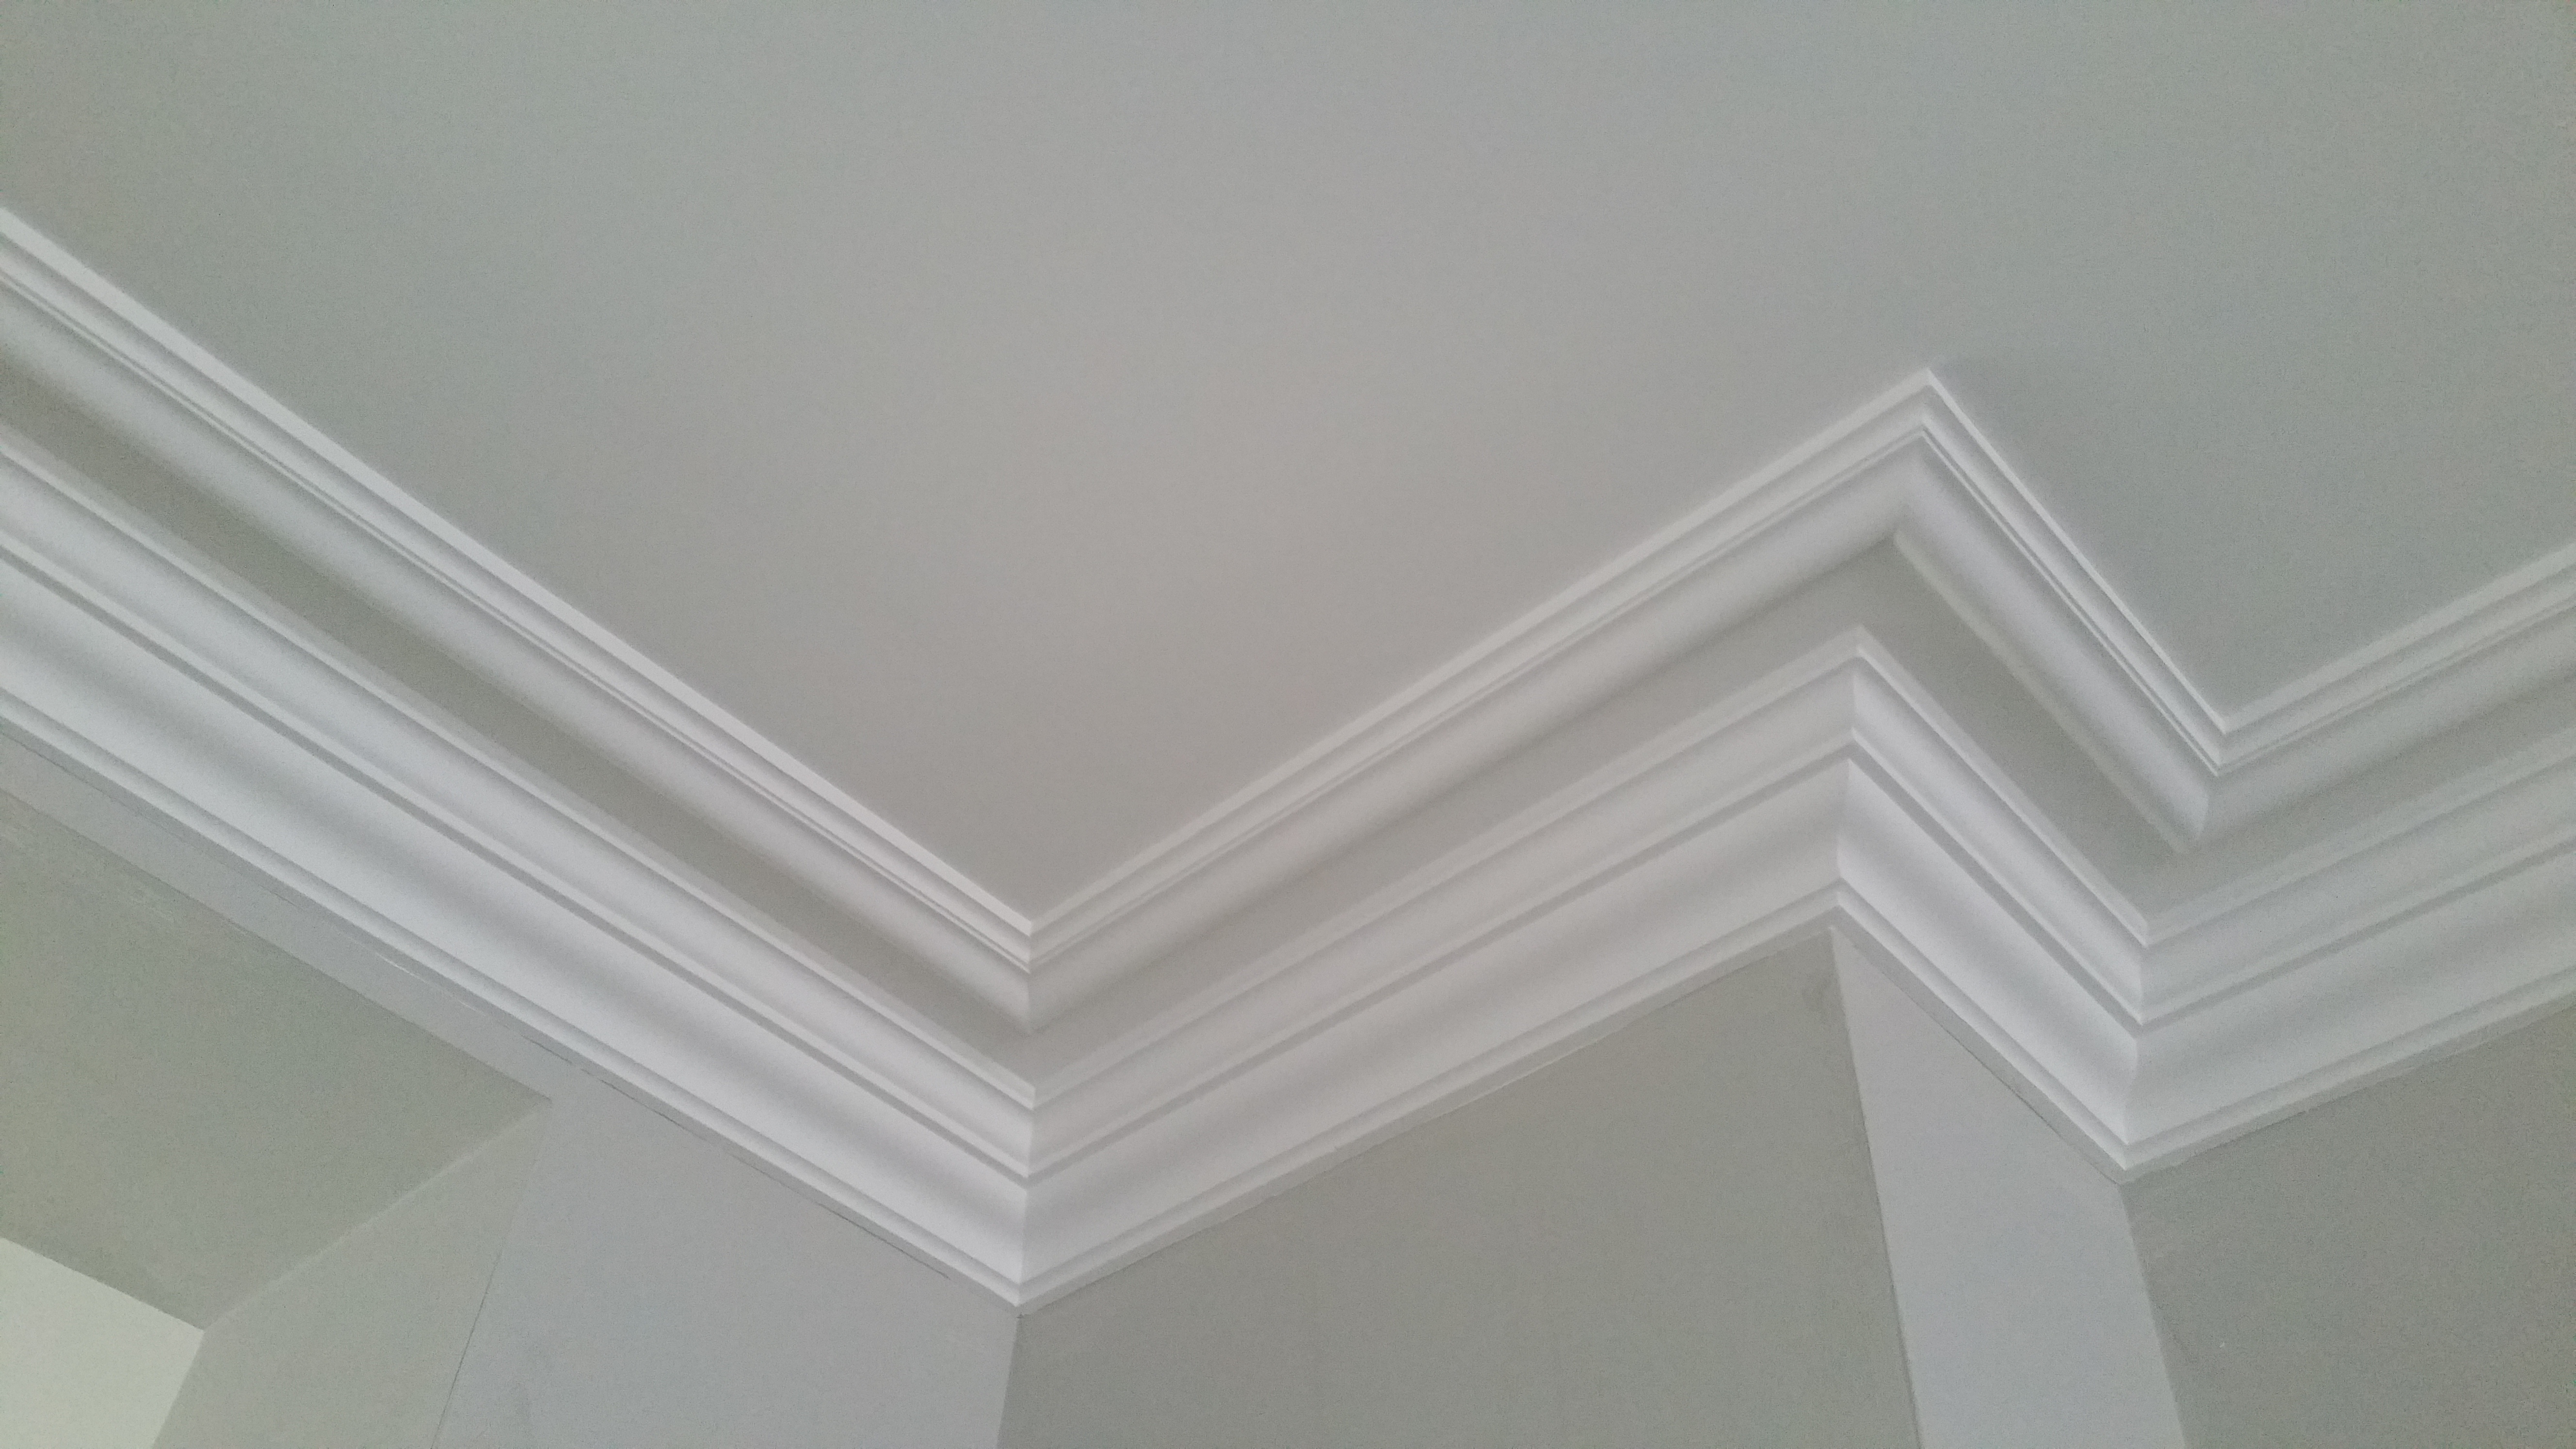
Large Cairo Four Step Cornice 100mm Madex Plaster Linings Pty Ltd

3 Step Cornice Regency Plaster Mouldings Cornice Design Cornice Plaster Mouldings

Victorian Plaster Cornice Design No 5 11 50 Per Metre Ebay Cornice Design Design Home

Products Archive Csj Ceiling Rose Cornices Ceiling Molding Ceiling

Plaster Coving And Ceiling Roses From The Victorian Cornice Company Cornice Ceiling Rose Victorian Living Room

Fitting Kitchen Cornice And Pelmet Youtube

Large Preview Of 3d Model Of Ceiling Moldings Cornice Potolochnyj Plintus Karniz Cornice Ceiling Treatments Cornice Moulding

Bombs Of The Backcountry How To Be Safe Cutting Cornices Genuine Guide Gear

Under What Circumstances Would I Wish To Extend The Handle Length Of A Snow Saw The Great Outdoors Stack Exchange

Pin On Ceiling Design

Exterior Interior Mouldings Crown Molding Cornice Design Ceiling Design
Https Encrypted Tbn0 Gstatic Com Images Q Tbn 3aand9gcrqwlrcj Bi7s3eyvyee45x Bzlftigeekih 7m1fozxhw4eirs Usqp Cau

How To Remove Cornice Bunnings Warehouse
Ditch The Miter Box And Make The Cut Youtube
Mitre Boxes Markers Wallboard Tool Company

C301 Crown Molding Primed White Face 8 11 16 Length 78 3 4 Request Your Free Catalo Orac Decor Crown Molding Classic Ceiling

Hamptons Style Cornice Google Search Hamptons House Hamptons Style Cornice Design
Source : pinterest.com
